Once your website is finished, it is crucial to take proactive steps to ensure its visibility on Google, a powerful search engine. By submitting your website to Google, you enable their crawlers to swiftly index and analyze the content on your site. This process accelerates the optimization of your website for search engines, known as SEO.
How to make Google crawl your website faster?
Firstly, it’s important to understand that Google crawls websites worldwide through its system of data collection bots, also known as Google Bots. These bots will find your website through two main methods:
Method 1. Through the referral backlink system
A backlink is simply a link that points to your website from another website (known as an external backlink) or is linked from one page to another within the same website (known as an internal backlink).
When Google bots crawl a website, they also crawl the links attached to that website, including outbound links that are not labeled as nofollow. Therefore, it can be inferred that if your website receives many backlinks from other websites, it not only impacts your website’s ranking but also provides more opportunities for Google bots to collect data from your website.
Method 2. Through the website sitemap system
Google, as well as other search engines like Bing and Yandex, provide developers with a dedicated tool to submit their websites for search engine crawling. These tools always include a feature that allows website owners to submit their website’s sitemap, enabling the search engine bots to schedule data crawling.
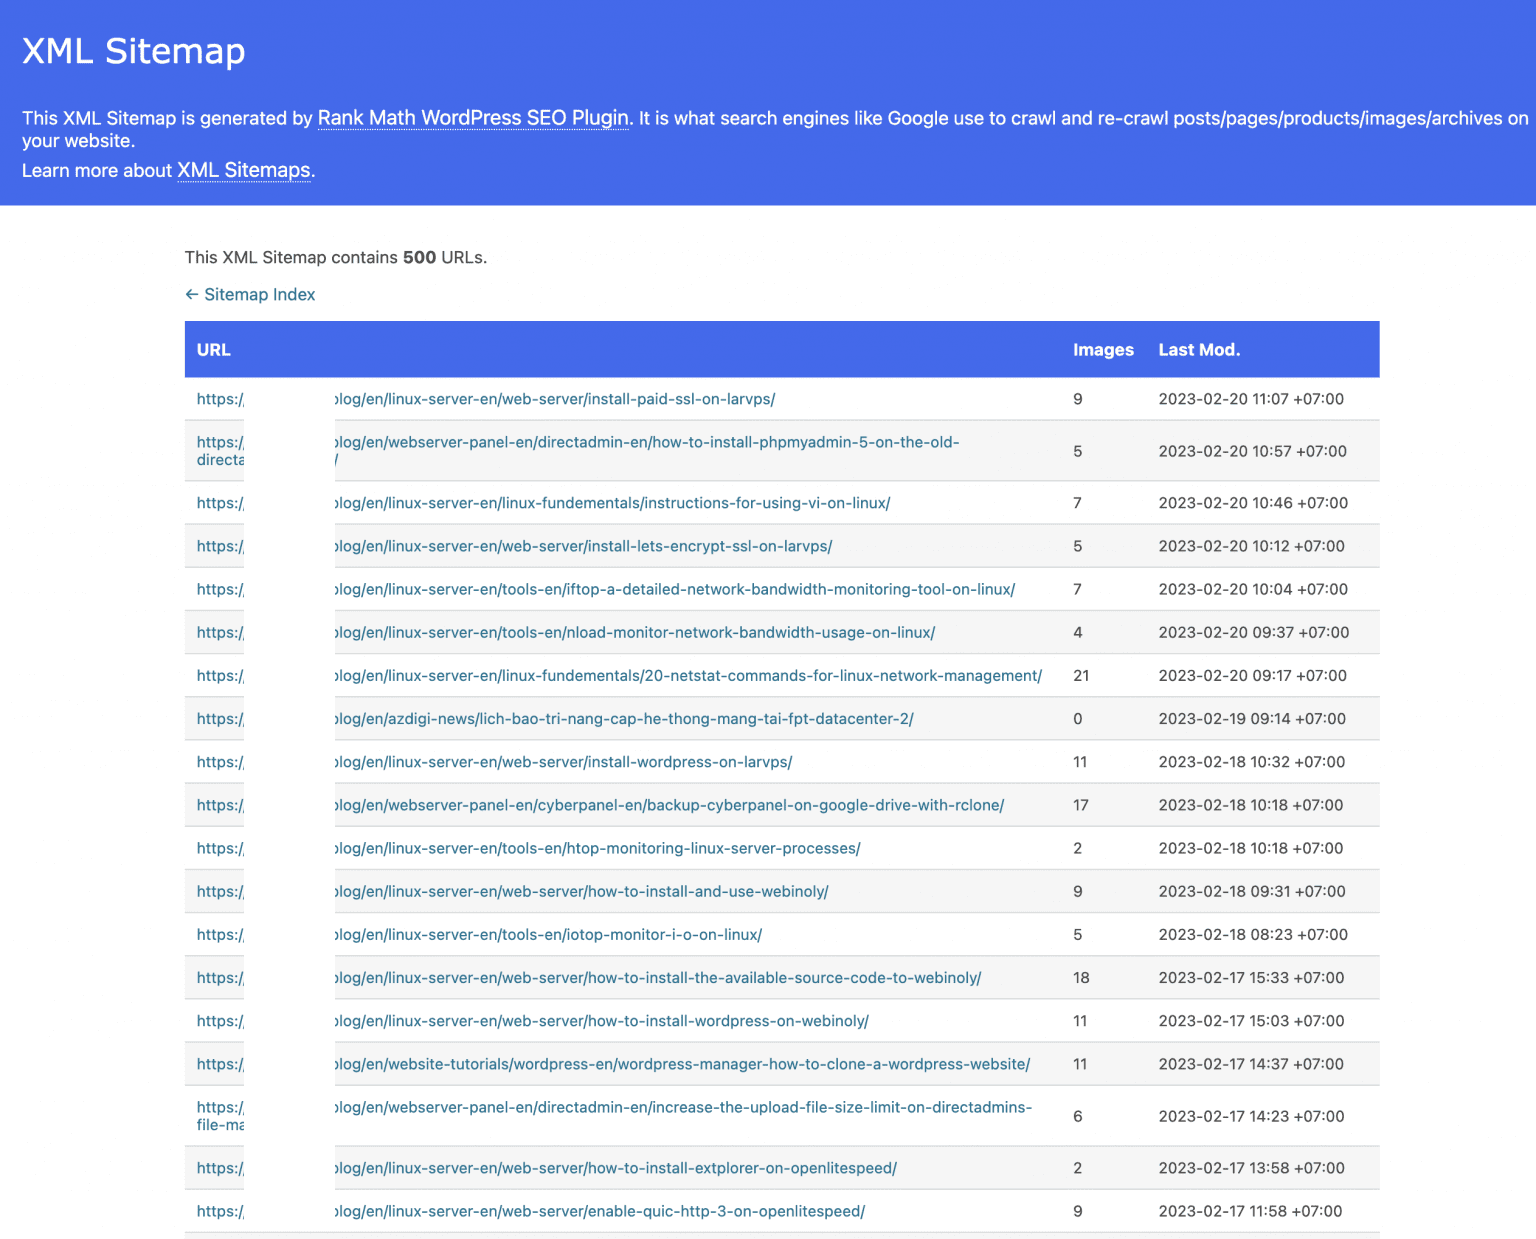
When declaring a sitemap to search engines, it needs to be in XML format and list all the pages that you want the search engine to crawl. For example, the sitemap for the HONGMANH homepage would have the URL https://hongmanh.net/sitemap_index.xml.
In this article, HONGMANH will guide you through the detailed steps to create a sitemap for a WordPress website and submit it to Google using Google Search Console.
3 steps to submit a website’s sitemap to Google
Step 1. Add the website to Google Search Console and verify it
See detailed instructions here.
Step 2. Create a sitemap for the WordPress website
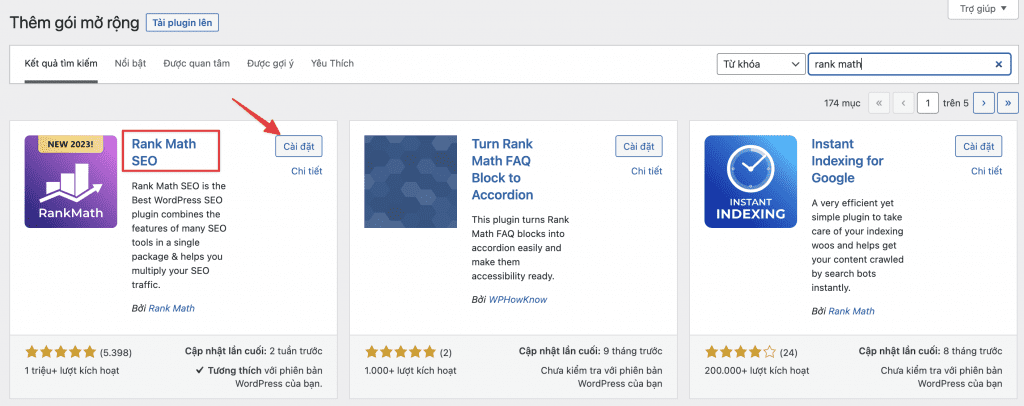
By default, WordPress does not provide any tools to create a standard XML sitemap for submission to Google. However, this can be easily resolved by using supporting plugins. One of the best plugins for sitemap creation is Rank Math SEO, it’s considered the leading SEO plugin today and is a must-have when building a WordPress website. You can utilize the sitemap feature of this plugin without needing any additional plugins.
First, install the Rank Math SEO plugin if your website doesn’t have it already, and activate it.
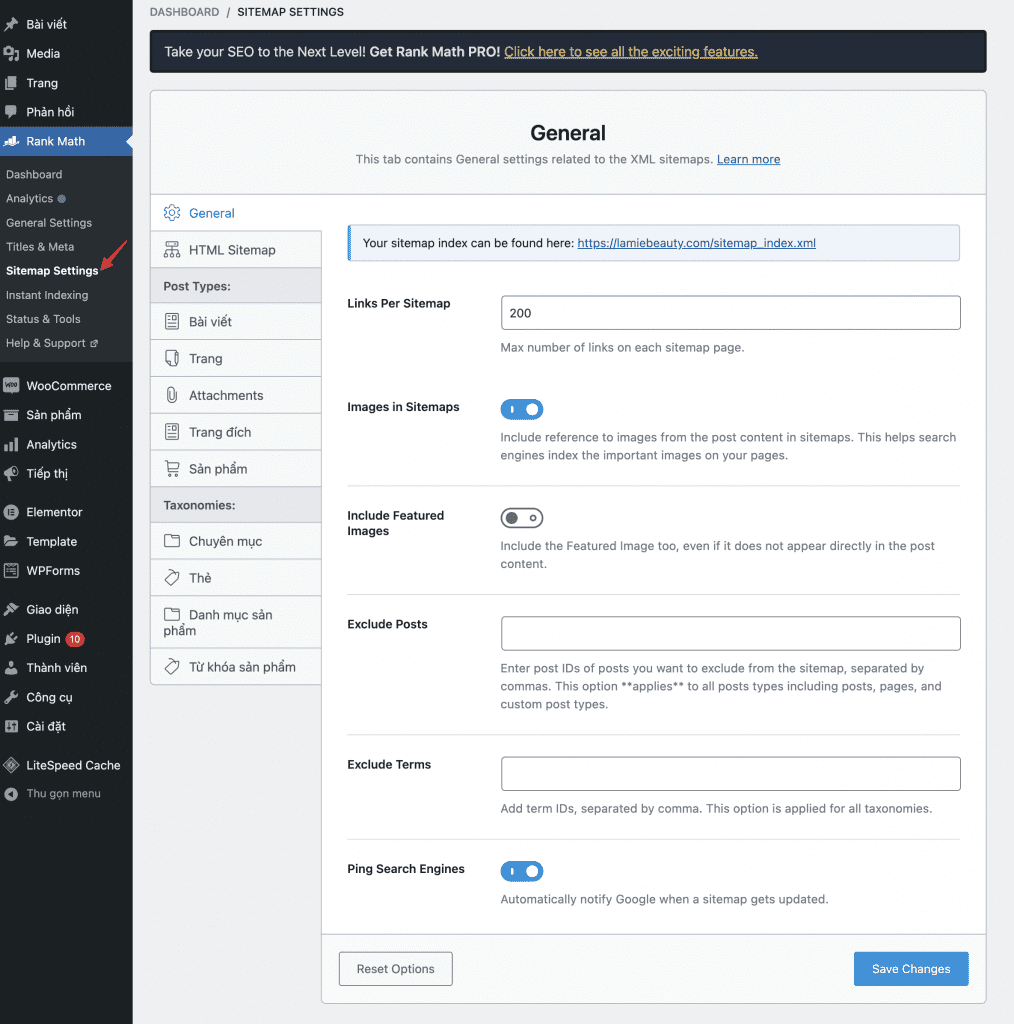
After installing Rank Math SEO, go to Rank Math => Sitemap Settings to ensure that the sitemap feature is enabled and customize the sitemap according to your preferences. In this section, you will also find the URL of your sitemap, which you will need in Step 3.
Step 3. Declare the sitemap in Google Search Console
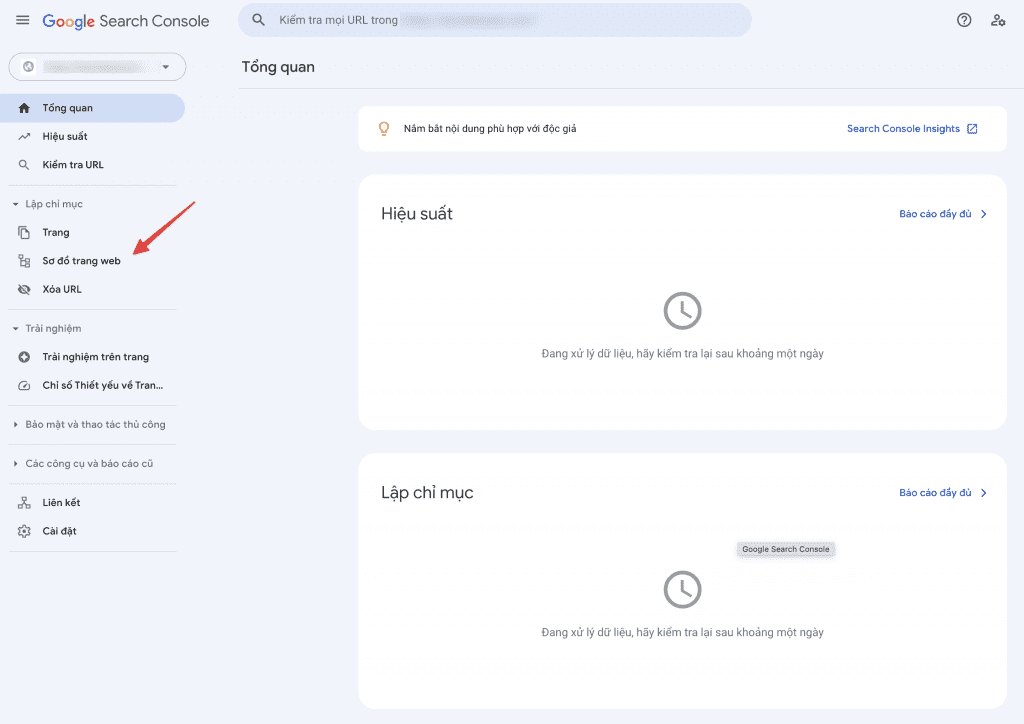
Access https://search.google.com/search-console and select your website that you added in Step 1. Then, go to the Sitemaps section.
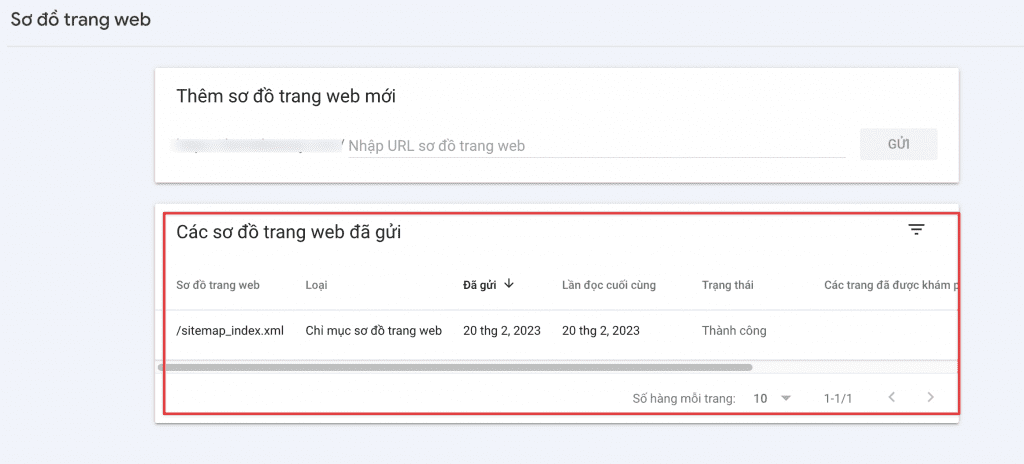
On this page, check if your website’s sitemap has been declared. If not, enter the sitemap URL (without entering the domain) in the Add a new sitemap field. Make sure to enter the correct sitemap URL that you found in Step 2.

After successfully adding it, you can view the status and detailed information of the sitemap you just added. It’s also recommended to regularly check the status of your sitemap to promptly address any errors that may occur and avoid interruptions in the data collection process by the bots.
Conclusion
So you have successfully declared the sitemap of your website to Google using the Google Search Console tool, this is a mandatory step to take whenever you launch a new website. Additionally, the Google Search Console provides many useful statistics on the SEO performance of your website. In another article, HONGMANH will provide detailed instructions on how to utilize these features.


Leave a Reply